Sealing a shower door should be tight for a functional and attractive bathroom when showers are correctly sealed. Water cannot leak out, causing damage to the floor and wall of the bathroom. The result is a safer bathroom with a reduced slip risk and a cleaner and more polished look. Also, it prevents water damage and costly repairs to fixtures and tiles.
The sealing process also reduces the growth of mold and mildew. Taking out water creates damp areas that can grow mold and mildew, causing health hazards, unpleasant odors, and unsightly stains. A healthy bathroom environment requires regular maintenance and replacement of shower door seals. Here, we talk about how important it is to seal your shower door. We will also discuss different kinds of seals and how to maintain and replace them.
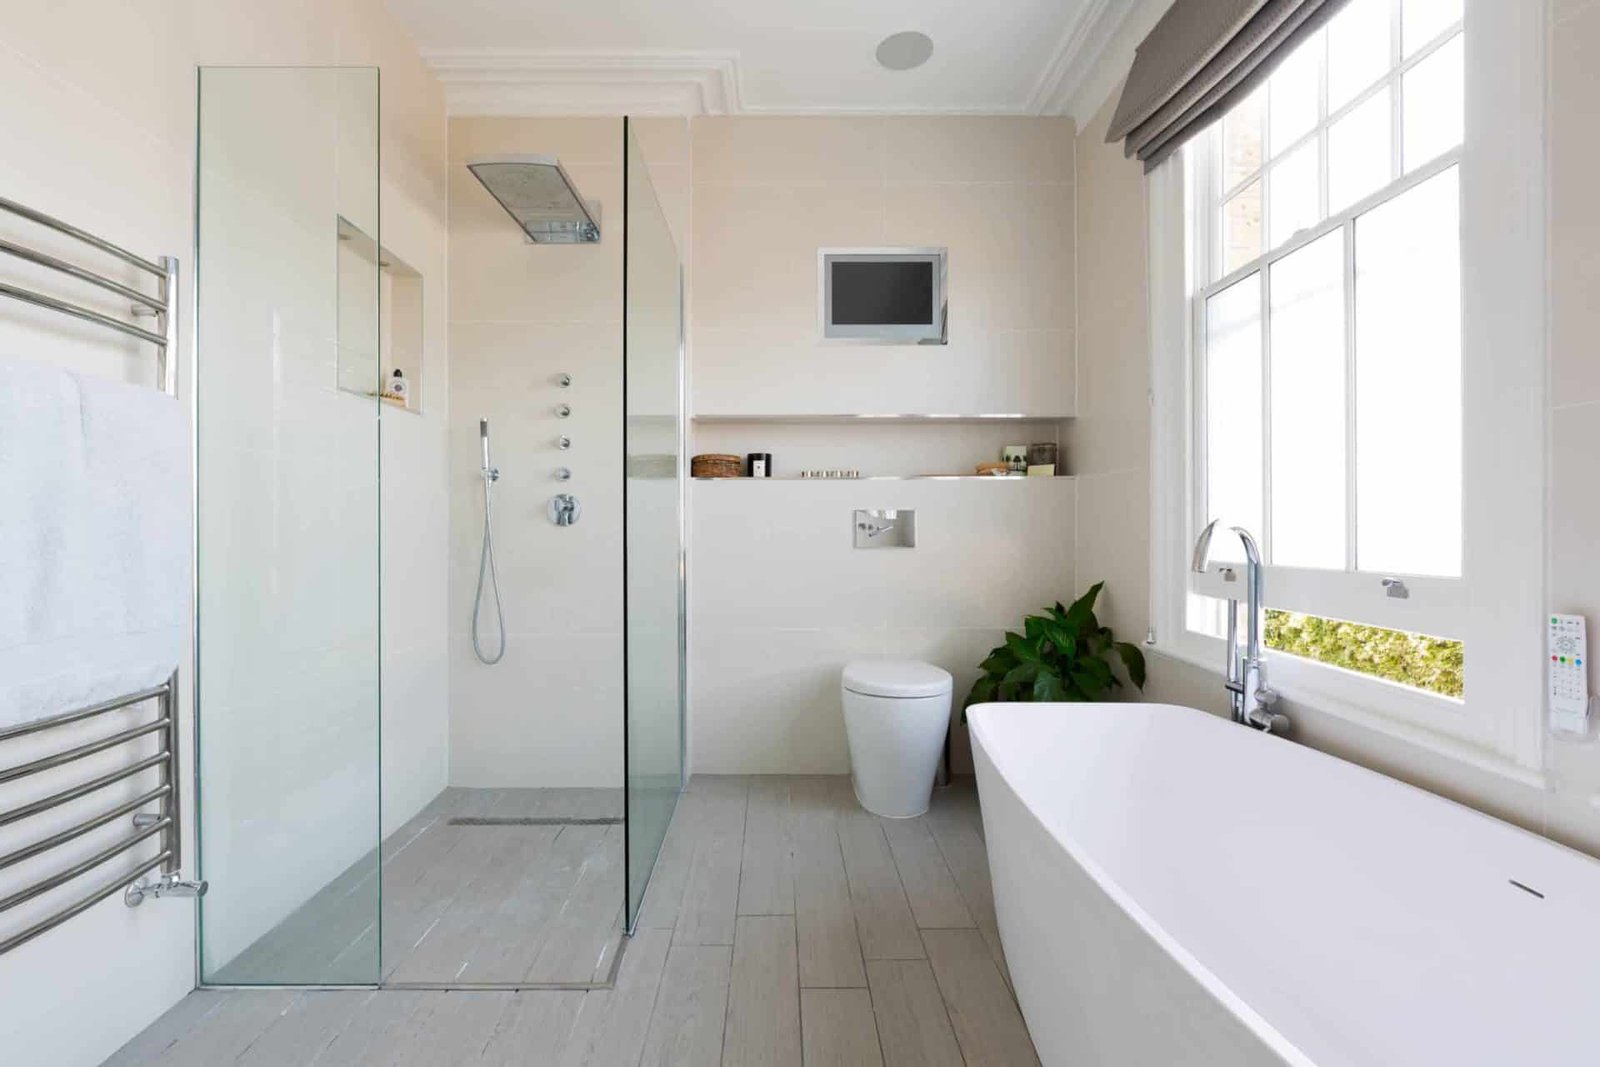
Understand Sealing a Shower Door
Shower Doors seals come in various types and are designed for different purposes. To maintain a clean and dry bathroom, your shower should remain watertight.
Framed Shower Door Seal
The framed shower door seal secures tightly around the edges of frameless shower doors, preventing water from leaking. They provide a reliable shield against moisture, typically made of rubber or silicone.
Framed Shower Door Bottom Seal Strip
Water cannot escape through this framed shower door bottom seal strip at the shower door’s bottom edge. Running the length of the door, it collects and redirects water back into the shower. A durable material like PVC or rubber makes these strips suitable for everyday use and constant exposure to water.
Framed Shower Door Sweep
The framed shower door sweep extends slightly outwards from the bottom of the door to provide an additional water barrier. Keeping water inside the shower is possible due to this sweep., which seals the gap between the door and the threshold. A high-pressure shower or a shower that splashes a lot is particularly effective.
Metal Shower Door Sweep
The metal shower door sweeps securely and effectively with rubber or silicone. Rubber or silicone ensures a flexible, tight fit against the shower threshold. The metal provides strength and stability. It is designed with dual materials for superior water barrier performance and long-term durability.
Why is sealing a shower door crucial?
Several factors contribute to your bathroom’s value and functionality, and all of them are affected by a properly sealed shower door.
Preventing water leaks
A shower door seal prevents water leakage from entering the shower. Water damage can occur if no proper seal prevents water from escaping and entering the floors and walls. Structures can be weakened by such damage, resulting in costly repairs. Keep water inside your shower by sealing a shower door tightly.
Maintaining Bathroom Hygiene
A clean bathroom is dry. Mold and mildew grow in damp areas when water leaks from the shower. There are health risks associated with these fungi, such as allergies and respiratory problems. Mold and mildew grow less readily in bathrooms with well-sealed shower doors, making living more comfortable.
Extending Lifespan
Sealing correctly extends the life of a shower door and improves its performance over time. Moisture can corrode and wear components of doors without seals. The less water that enters your shower door, the less wear and tear it suffers. In this way, it will continue operating smoothly and look great for years.
Cost Saving
You save money in the long run by preventing water leaks and damage. Besides fixing leaks, water damage repairs can involve repairing floors, walls, and other areas. Investing in proper sealing now is beneficial to prevent costly repairs in the future and maintain the value of your home.
How to Seal a Glass Shower Door?
Sealing a glass shower door is a simple process that prevents leaks and maintains bathroom quality. Here is a detailed step-by-step guide to sealing your shower door effectively.
Clean the shower door frame.
The first step is to remove the sealant already applied to the shower door frame. A knife or scrapper can remove the old sealant. Ensure that the door frame and glass are not scratched by being thorough and gentle. Using a mild cleaner, remove the old bond from the surface. Wipe down your entire frame, ensuring any soap scum, dirt, or residue were removed. Using a clean towel, dry the area. The sealant will not stick properly if dirt or moisture is left after this step.
Choosing the Right Seal Strip
Select the seal strip that will seal your shower door. Sealed strips can found for framed or frameless doors. Measure the thickness of your shower door and the gap you need to close. This will allow you to choose the seal strip that is the right size and type for your needs. Water and soap will constantly erode the strip if not made from durable materials like rubber and silicone.
Installing the Seal
You should apply a seal to the area that is long enough for it to cover. To get accurate measurements, use a measuring tape. You can use scissors or a utility knife to cut the seal strip to the correct length after the measurement. Should peel off the protected layer on the seal strip if it has an adhesive backing.
The area where you will place the strip will need to be sealed with silicone sealant if it does not exist already. Work your way from one end to the other as you press the seal strip into the place. For tight bonds, ensure that you press firmly. With your fingers, remove any air bubbles. Should set the seal for 24 hours before showering.
Replacing a seal on the framed shower door
You may need to replace the seal on your framed shower door over time. If the signs indicate it is time, you can follow these steps to replace something.
Signs You Need a New Seal
Water leaks around the door
You will know your seal is no longer effective if water pools outside your shower after use. Water leaks can damage floors and cause mildew on them.
Visible wear and tear
Please verify that the seal is intact by inspecting it for cracks, gaps, or other signs of damage. Prolly maintained seals won’t provide sufficient protection against water, allowing it to escape.
Difficulty closing the door
It is possible for the shower doors not to close or misalign due to a damaged seal. The seal may be problematic if your door needs help closing or sticks.
What to know about Sealing a shower door frame
Sealing a shower door frame is a must to prevent leaks and maintain the bathroom’s appearance. The following will guide you through the process.
Materials Needed
- Sealant (Silicone)
- Caulking Gun
- Utility Knife
- Mild Cleaner
- Cloth Or Sponge
Steps to follow
Clean the frame
Begin by removing any old sealant from the shower door frame. Use the utility knife to scrap the old sealant without scratching the frame. Once the silicone has been removed, thoroughly clean the frame with a mild cleaner and a cloth or sponge. Ensure the surface is completely dry before applying the new sealant, as moisture can prevent adhesion.
Apply Sealant
The caulking gun should be loaded with silicone sealant. Cut the tube tip at a 45-degree angle to control the sealant flow. Should consistently seal the edges of the shower door frame and the door. Fill any gaps in the adhesive by working slowly. To finish the beads, use a caulking tool or wet finger to smooth them.
Allow the sealant to dry.
As the manufacturer directs, it is usually best to let the sealant dry for 24 hours after applying it. The sealant should be set for several hours before being used on the shower to provide a watertight barrier. After the adhesive has been set, check for gaps or spots that need to be filled.
Tips for maintaining your shower door seal
You can extend the life of your shower door seal by performing regular maintenance. A few tips from professionals are provided here.
Regular cleaning and inspection
Maintain a regular seal cleaning routine using mild cleaners. Scrubbers with abrasive pads may damage the seal. Ensure the seal is free of cracks and gaps during cleaning. Leaks and more significant problems can be prevented by early detection of damage.
Avoid Harsh chemicals
You should never use harsh cleaning products on seals to avoid damaging them. When exposed to harsh chemicals, the seal can weaken over time, reducing the seal’s effectiveness. You should use shower cleaners that are safe for silicone or rubber seals instead of mild soap.
Periodic checks
Make sure your shower door seal is in good condition by performing periodic checks. Consider the corners and bottom of the door where the seal is more susceptible to damage. Replace any damaged seal immediately if you notice it.
Conclusion
Keeping a bathroom hygienic, functional, and aesthetically pleasing requires a well-sealed shower door. Proper sealing prevents water from leaking onto your floors and walls, which can cause significant damage and lead to costly repairs. Regularly inspecting and maintaining your shower door seal can help you catch minor issues before they become substantial problems. Doing so will save money in the long run and keep your bathroom looking fabulous. Whether you tackle the sealing process yourself or hire a professional, ensuring your shower door is sealed in the correct way is a valuable investment in your home.
We would love to hear your tips and experiences sealing a shower door. Share your thoughts and advice with us. If you need expert seal replacement assistance, contact AQglass today. Our team is ready to ensure your shower doors are sealed perfectly. Stay informed and keep your home in good condition with our expert advice and insights.